How to Convert a Logo to SVG for Cricut Design Space
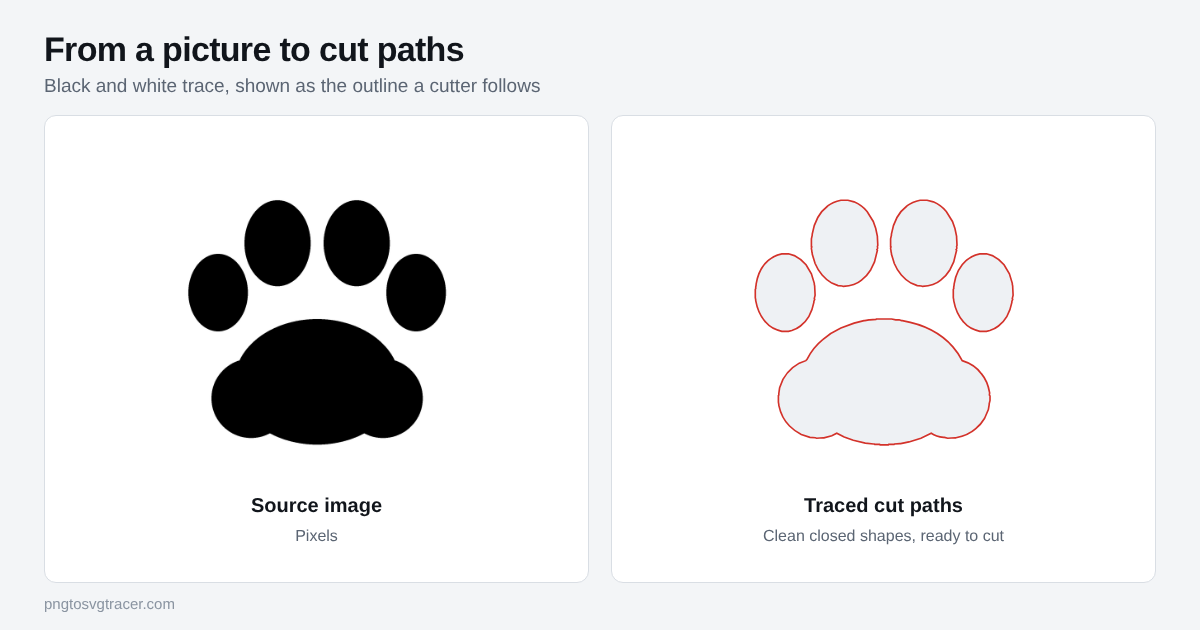
A logo saved as a PNG or JPG is made of pixels. Cricut Design Space wants shapes it can cut. Tracing the logo into an SVG gives you those shapes. Here is how to do it and what to check so the cut goes well.
Find the best copy of the logo
The trace can only be as good as the picture you give it. Look for the largest, sharpest version you have. A 2000 pixel wide PNG will trace far better than a screenshot from a social media page.
Plain backgrounds help. If the logo sits on a photo or a busy pattern, the trace will pick up that noise as extra shapes. If you can, get a copy on white or transparent.
Pick one color or layers
Decide how the logo will be cut before you trace.
- One color of vinyl. Use the SVG for Cricut page with the Black and white style. Everything becomes one set of solid shapes.
- Two or three colors of vinyl. Use the logo to SVG page and set Colors to the number of colors in the logo. Each color becomes its own layer, and each layer is one sheet of vinyl.
If the logo has five or six colors, think about whether you really want to cut and layer all of them. Every extra color is more cutting, more weeding and more places for the layers to line up badly.
Trace it
- Drop the PNG or JPG onto the page.
- For black and white, move the threshold until the shapes look solid and nothing important disappears. Raise it to catch faint lines. Lower it if the shapes are getting fat.
- For a color logo, set Colors to match the logo. If the white background shows up as a box, turn on Make white background transparent.
- Raise Remove small specks until the dust and stray dots go away.
- Raise Smoothing if curves look lumpy. If the source is a JPG with fuzzy edges, raise Soften first.
- Compare the preview against the original. Check small text and thin lines closely.
- Download the SVG.
Fix the usual logo problems
Tiny text turns to mush. Small type in a logo often blurs together in the trace. If you have the font, you can retype the words in Design Space and keep the traced shapes for the mark only.
Thin lines break up. A cutter and weeding tools struggle with hair-thin parts. Thicken them in the original image, or choose a slightly lower threshold so they come out heavier.
Letters float with no connection. In a stencil style logo, the middle of an "O" is a separate piece. That is normal for vinyl, but plan how you will keep it in place when you transfer the design.
The cut is slow. Many small shapes mean many cuts. Remove small specks, more smoothing and fewer colors all cut the shape count.
Upload to Design Space
- In Design Space, start a new project and choose Upload.
- Pick the SVG file you downloaded.
- Check the shapes on the canvas. If the logo came in as layers, each color should show up as its own item.
- Set the size you want before you cut. Look at the smallest details at that size, because a part that is fine at 8 inches can be too thin at 2 inches.
- Run a small test cut on scrap vinyl.
What this will not do
The tool traces the picture you give it. It does not rebuild a missing logo, it does not guess what a blurry letter should be, and it cannot make a gradient. A logo with a soft color fade will be flattened into a few solid colors. For most vinyl work that is what you want anyway, since a cutter handles flat shapes.
If you want to use the same SVG for a printer or an embroidery shop, see why printers and sign shops ask for a vector logo. If you are making stickers from drawings or photos instead, the steps in how to make Cricut stickers fit better.
Related tools
Keep reading
- Maker workflowsHow to Make Cricut Stickers from a Photo or DrawingTurn a photo, drawing or logo into a cut-ready SVG for Cricut stickers. What to prepare, how to trace it, and how to avoid slow, messy cuts.October 12, 2026 · 2 min read
- GuidesWhy Printers and Sign Shops Ask for a Vector LogoScreen printers, embroiderers and sign makers ask for vector logos. Learn why, which formats they accept, and how to get one from a PNG or JPG.October 12, 2026 · 2 min read