Tattoo Flash and Line Art to SVG: How to Trace It Cleanly
Tattoo flash is a good fit for tracing. It is usually bold ink on paper, one color, with clear edges. That is exactly what a black and white trace handles best. The trick is keeping the thin lines while dropping the paper.
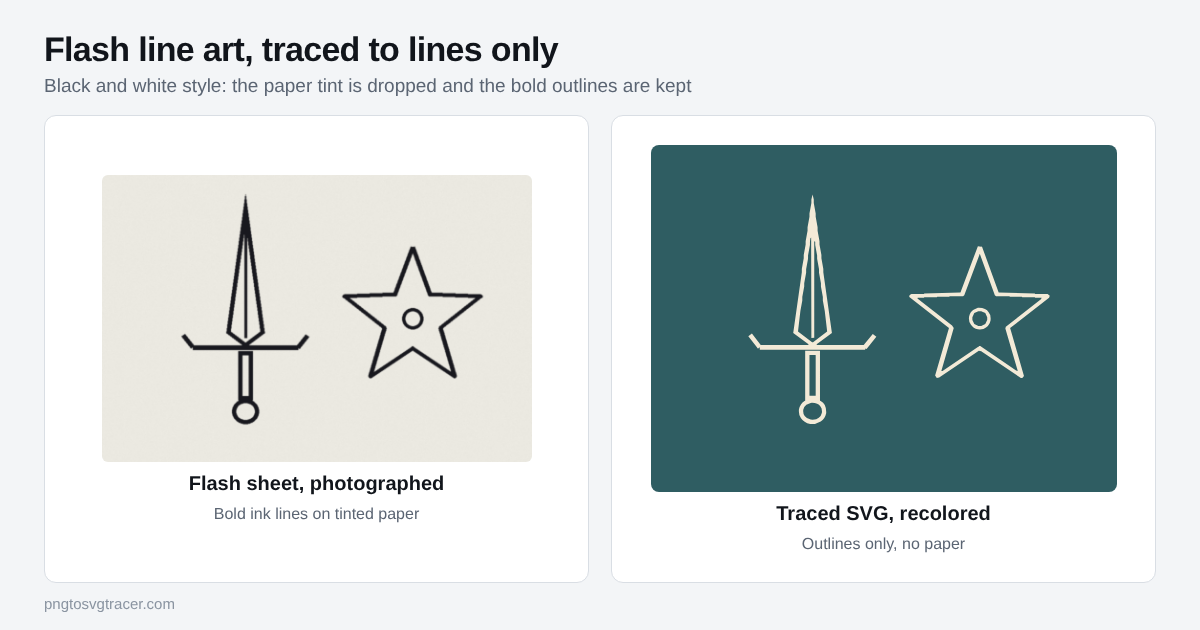
Why a vector copy is worth having
A scan or photo of a flash sheet is stuck at one size. Enlarge it and the lines turn soft. A traced SVG stays sharp at any size, so you can print the same design small for a sheet and large for a stencil. You can also recolor it, flip it, and clean it up in an editor such as Inkscape.
Prep the sheet first
Most trace problems start with the capture. A few minutes here saves a lot of fiddling later.
- Scan if you can. A flatbed scan has no shadow and no angle. These scanning tips cover resolution and color mode.
- Use a phone only in even light. Hold it straight above the page and keep your shadow off it.
- Trace the clean copy. Smudged graphite, tape marks and notes in the margin will all trace as shapes. Crop them out.
- Use the original file when you have one. A screenshot of a screenshot loses detail.
Trace it
- Open the image tracer and drop in your scan or photo.
- Set the style to Black and white shapes.
- Move the Threshold until the thinnest lines are complete. For dark ink the default often works. For lighter pen or pencil, raise it.
- Raise Remove small specks a few steps to clear paper grain. Stop before small details start to vanish.
- Raise Smoothing only as much as you need. Too much rounds off sharp points like a dagger tip.
- Download the SVG.
If your art is white on a dark background, tick the option to trace light shapes on a dark background.
Line weight is the thing to watch
The tracer follows the edge of each dark shape. A pen line becomes a thin filled shape, with an outline on each side. That works for printing and for most stencil use. It matters in two cases.
Very fine lines. Hairlines can break into dashes or disappear. Raise the Threshold a little, or scan at a higher resolution. If a line is thin in the original, it will be thin in the trace.
Tools that want one line per stroke. Some plotters and engraving setups follow a single centerline. A filled line gives them two edges. Check what your machine expects before you rely on the trace.
Shading and fills
Flash often has stippling, hatching or gray wash. A black and white trace has no gray, so shading becomes one of three things: solid black, tiny dots, or nothing.
- Dense hatching can merge into a solid patch. Space the lines out in the original if you can.
- Stipple dots may be removed by Remove small specks. Lower that setting if you want to keep them.
- Gray wash will turn black or disappear depending on the Threshold. Trace the linework and add shading separately.
Check it before you use it
Place the SVG over a colored shape and look for a box behind the lines, stray dots and gaps. Then zoom in on the thinnest lines at the size you plan to use. If a line is gone at stencil size, retrace with a higher Threshold or a better scan. Print a test on plain paper before the real piece.
Using the file
A single-color SVG is easy to resize and recolor in Canva, Figma or Illustrator. If you want a stencil from a photo instead of linework, see how to turn a photo into a stencil. If your starting point is a loose sketch, tracing a pencil sketch covers the extra steps for light graphite. The SVG tracer page lists the options in more detail.
Mistakes that cost you time
Tracing a tiny image. Small, blurry files give lumpy lines. Start from the largest version you have.
Expecting every detail. Fine texture and soft shading will not survive a one-color trace.
Skipping the test. Look at a printout before you commit to the design.
Flash is often someone's original work. Check that you have the right to reproduce a design before you trace it, especially if it is another artist's.
Related tools
Keep reading
- TutorialsHow to Trace a Pencil Sketch into an SVGTurn a pencil sketch into a clean SVG line drawing. How to photograph it, set the threshold for light graphite, and fix gray paper, smudges and broken lines.October 25, 2026 · 4 min read
- TutorialsVectorizing a Scanned Drawing: Scanning Tips That HelpHow to scan a drawing so it traces cleanly to SVG. Resolution, color mode, flat paper, shadows and the settings to use when you trace the scan.November 2, 2026 · 4 min read
- TutorialsHow to Turn a Photo into a Stencil (Black and White SVG)Turn a photo into a one-color stencil SVG. How to pick the photo, set the threshold, clean up bridges and islands, and test it before you cut or spray.October 26, 2026 · 4 min read